Building Your First Form
In this example, we're going to go through the process of building a simple Form from start to finish. By the end you'll know more about the Form Builder and how publishing works.
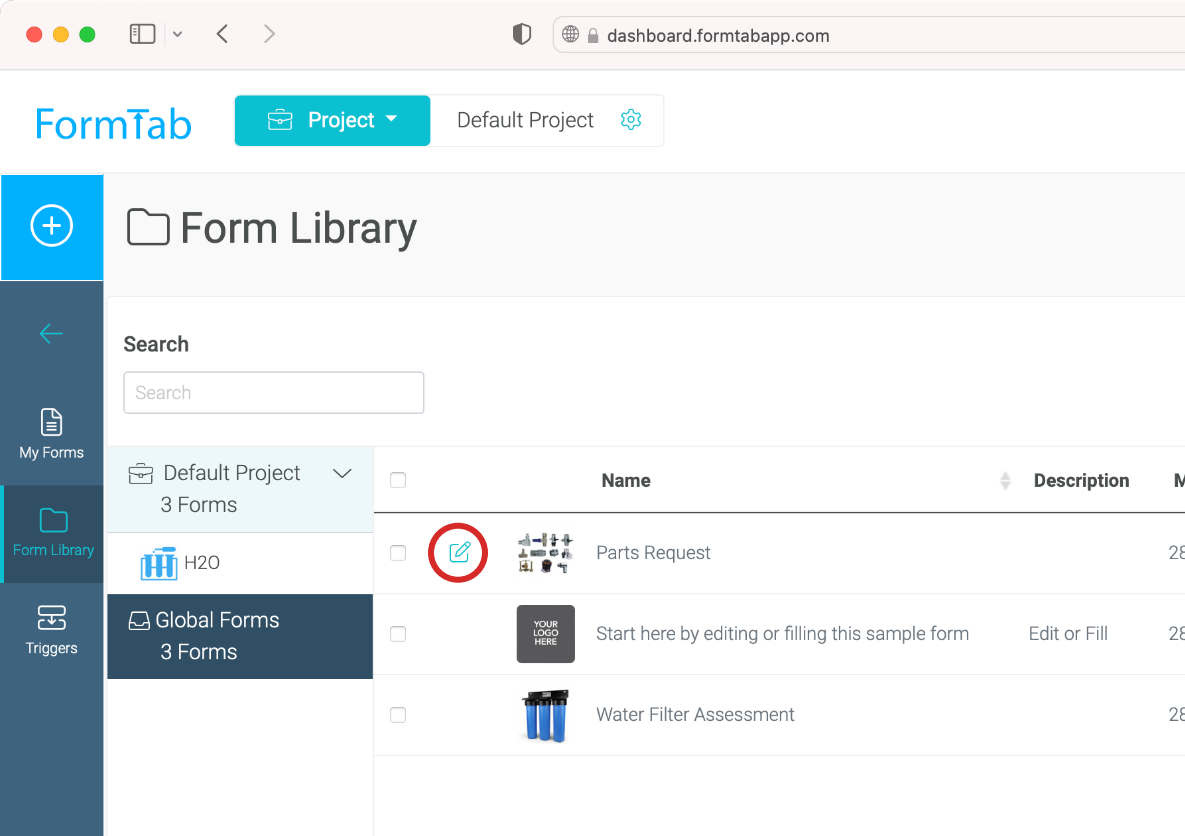
Creating the Form
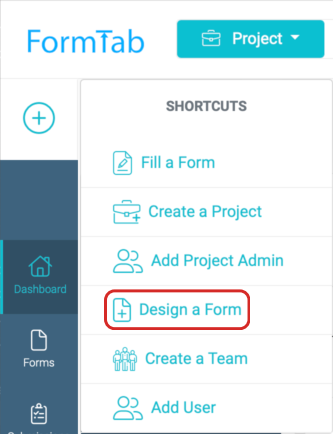
Go to your [Form Library]((https://www.formtabcentral.com/forms/library) and click Design a New Form. Or select Design a New Form from the Shortcuts Menu
Give your form a title and upload a logo or image to help Users identify the form. If you change your mind you can edit these settings later
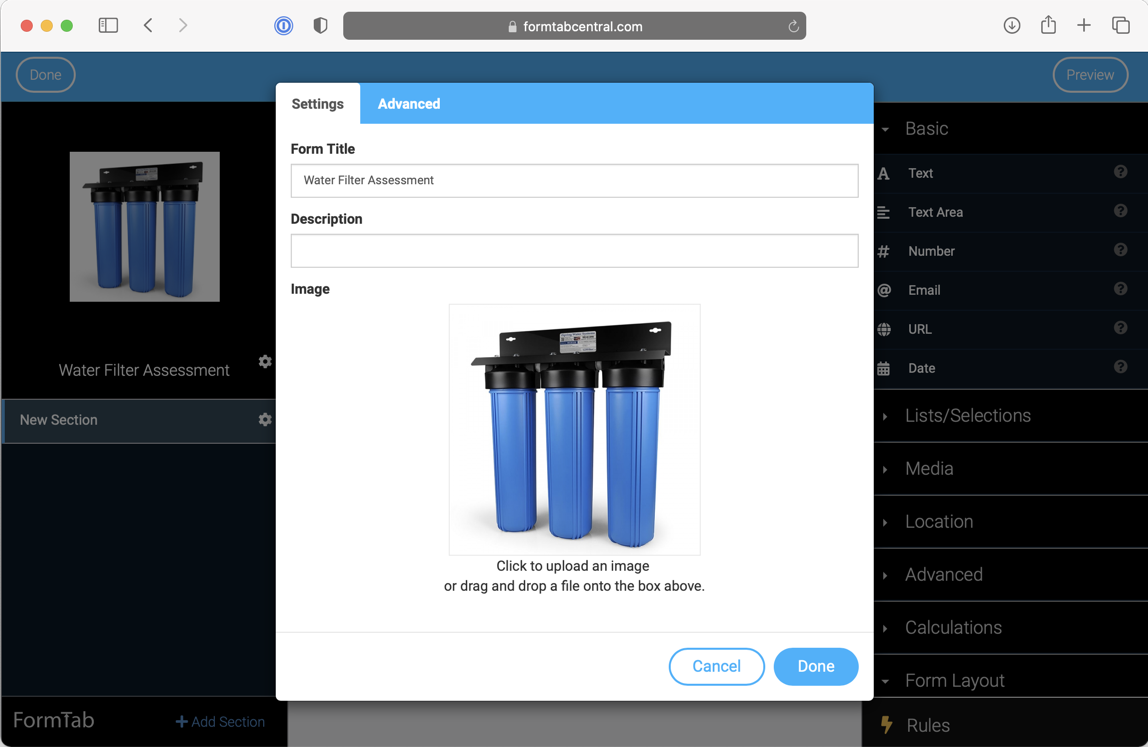
Click done and you'll get taken to the Form Builder
Adding Fields
A brand new Form contains one Section and no Fields. The right sidebar of the Form Builder has all the field types available to you, grouped into categories. 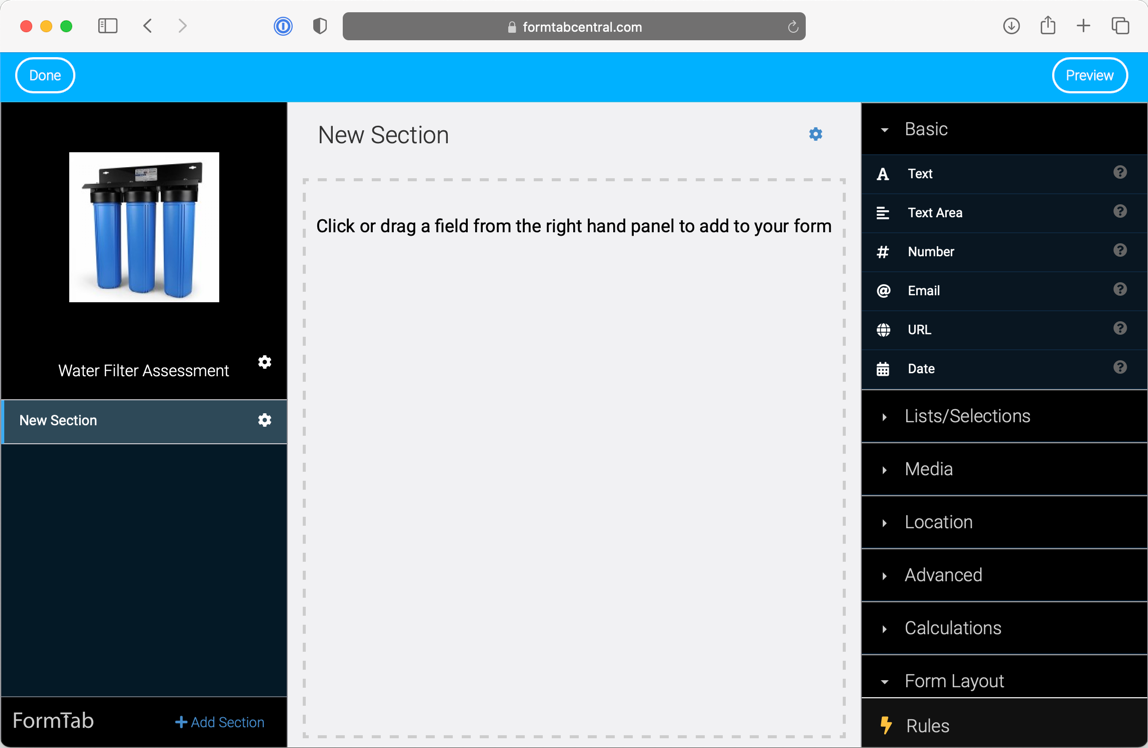
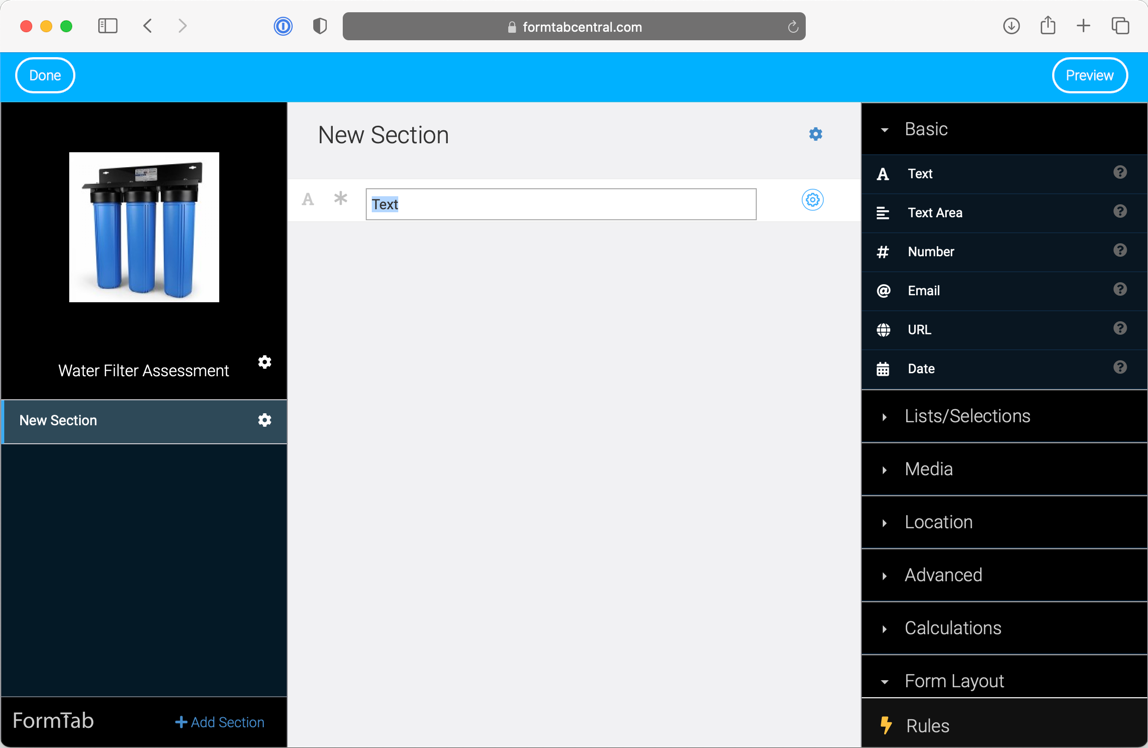
Drag a text field to the form and double-click on the label to re-name it
Add a date field and an Address field. Click the * next to the label to make the field mandatory
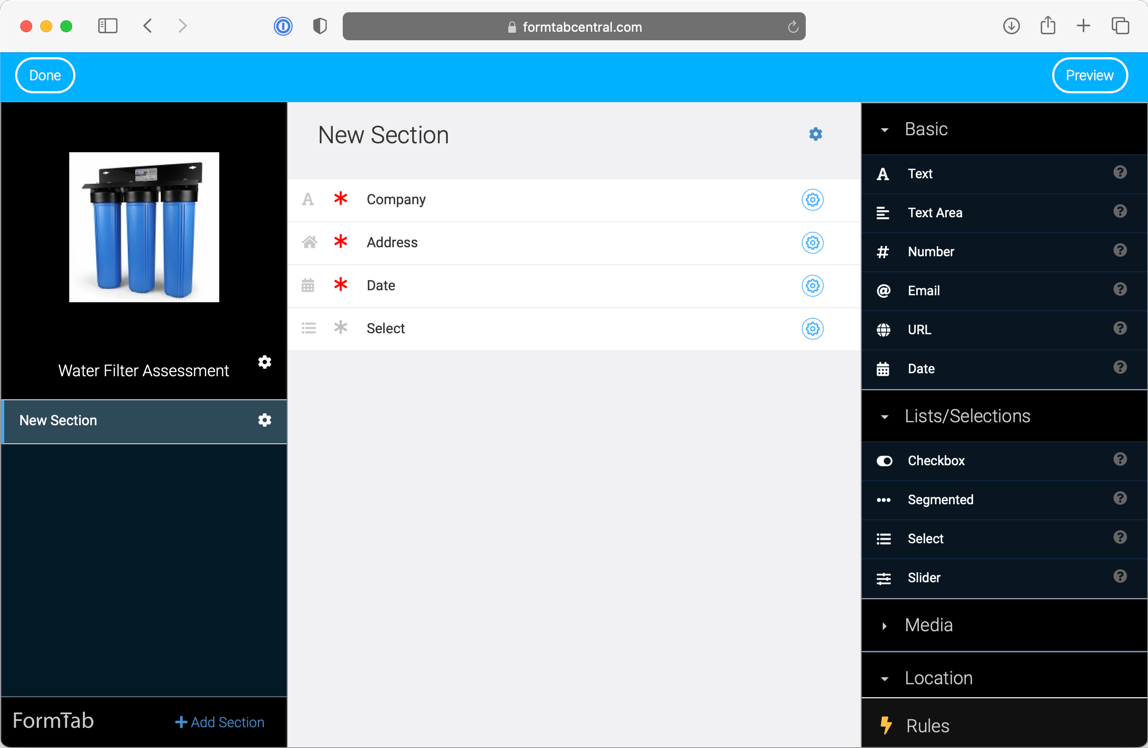
Next add a field for entering the model number of the water filter we're assessing. To make data entry easier for our users, we're going to use a Select field
Clicking the blue cog button on the Select field opens the Field Settings sidebar and allows you to define a list of options to choose from
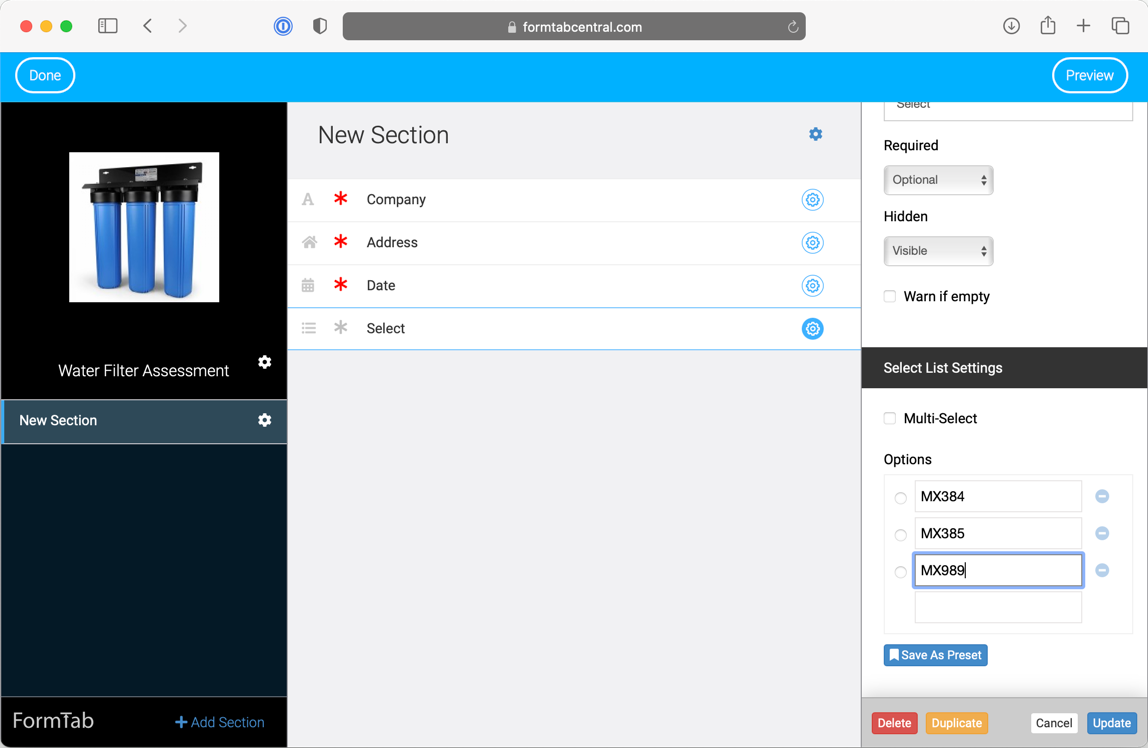 The Field Settings vary, depending on the type of Field you are editing
Adding Sections
Sections are a great way to break up a long form into smaller chunks. Sections make data entry much easier for Users.
Rename the current section by double-clicking its name in the left sidebar
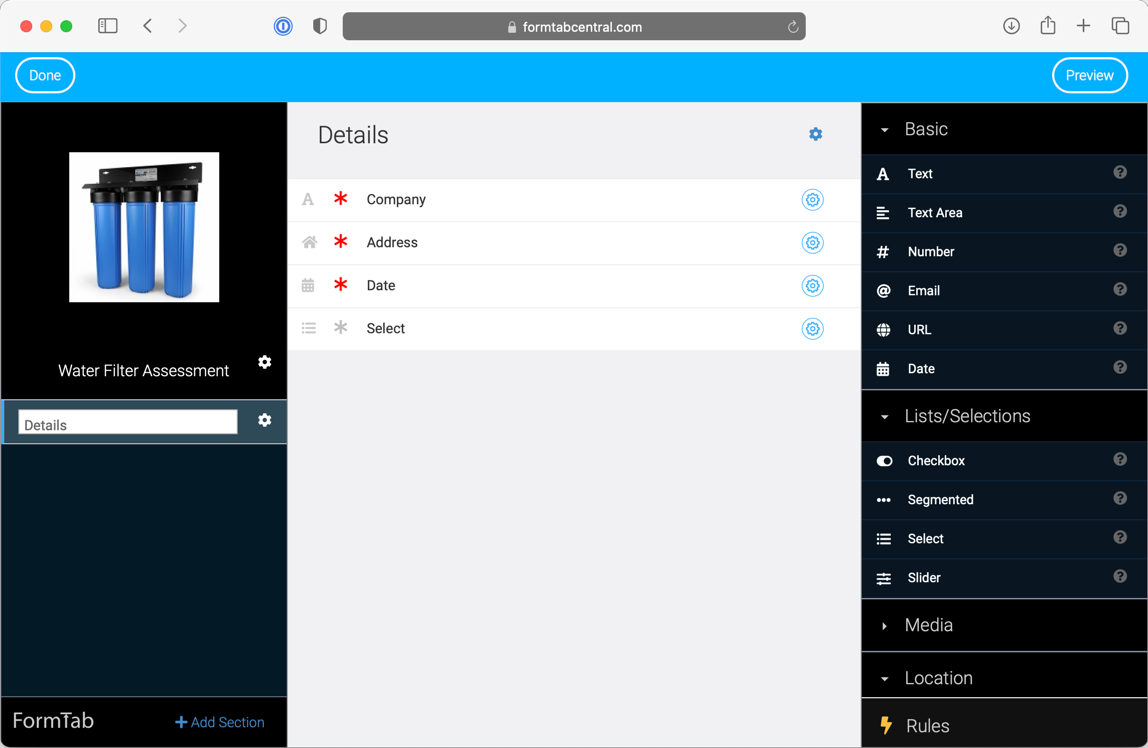
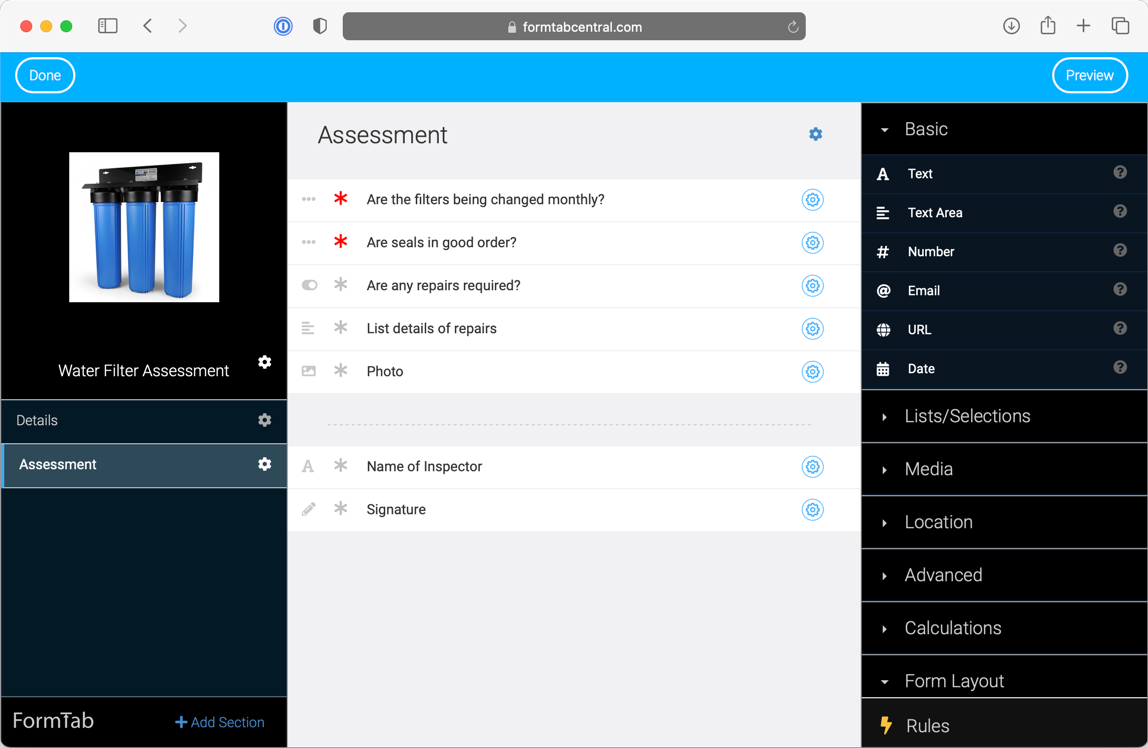
Add another section by clicking the Add Section button in the left sidebar and name it Assessment

Add some more Fields. In this example, we've added:
- Two segmented fields
- Checkbox field
- Textarea field
- Photo field
- Divider
- Text field
- Signature field
Previewing Your Form
At any stage while building a Form, you can preview how the Form will look in your browser.
- Click the Preview button in the top toolbar
- The Preview opens in an overlay
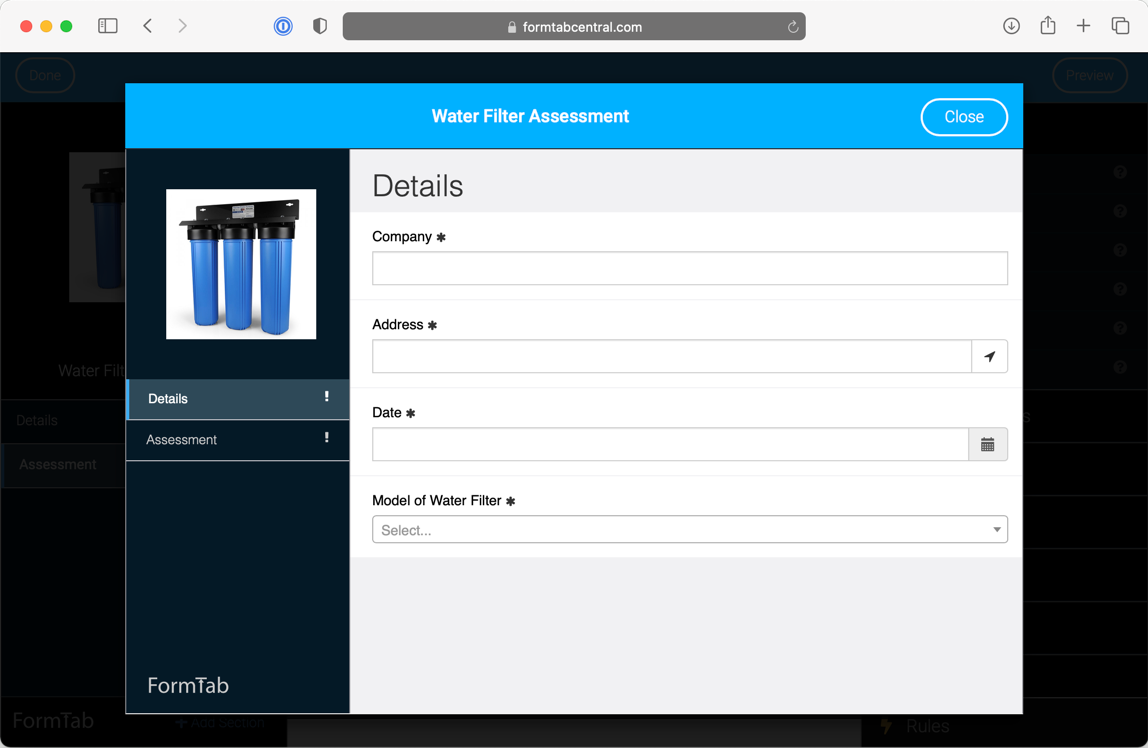
- Previews are fully functioning so you can test all of your Form's features
Saving the Form
- Click the Save or Close button in the top toolbar to leave the Form Builder. Your changes are saved automatically as you go.
- You will be returned to the Form Library.
Publishing Your Form
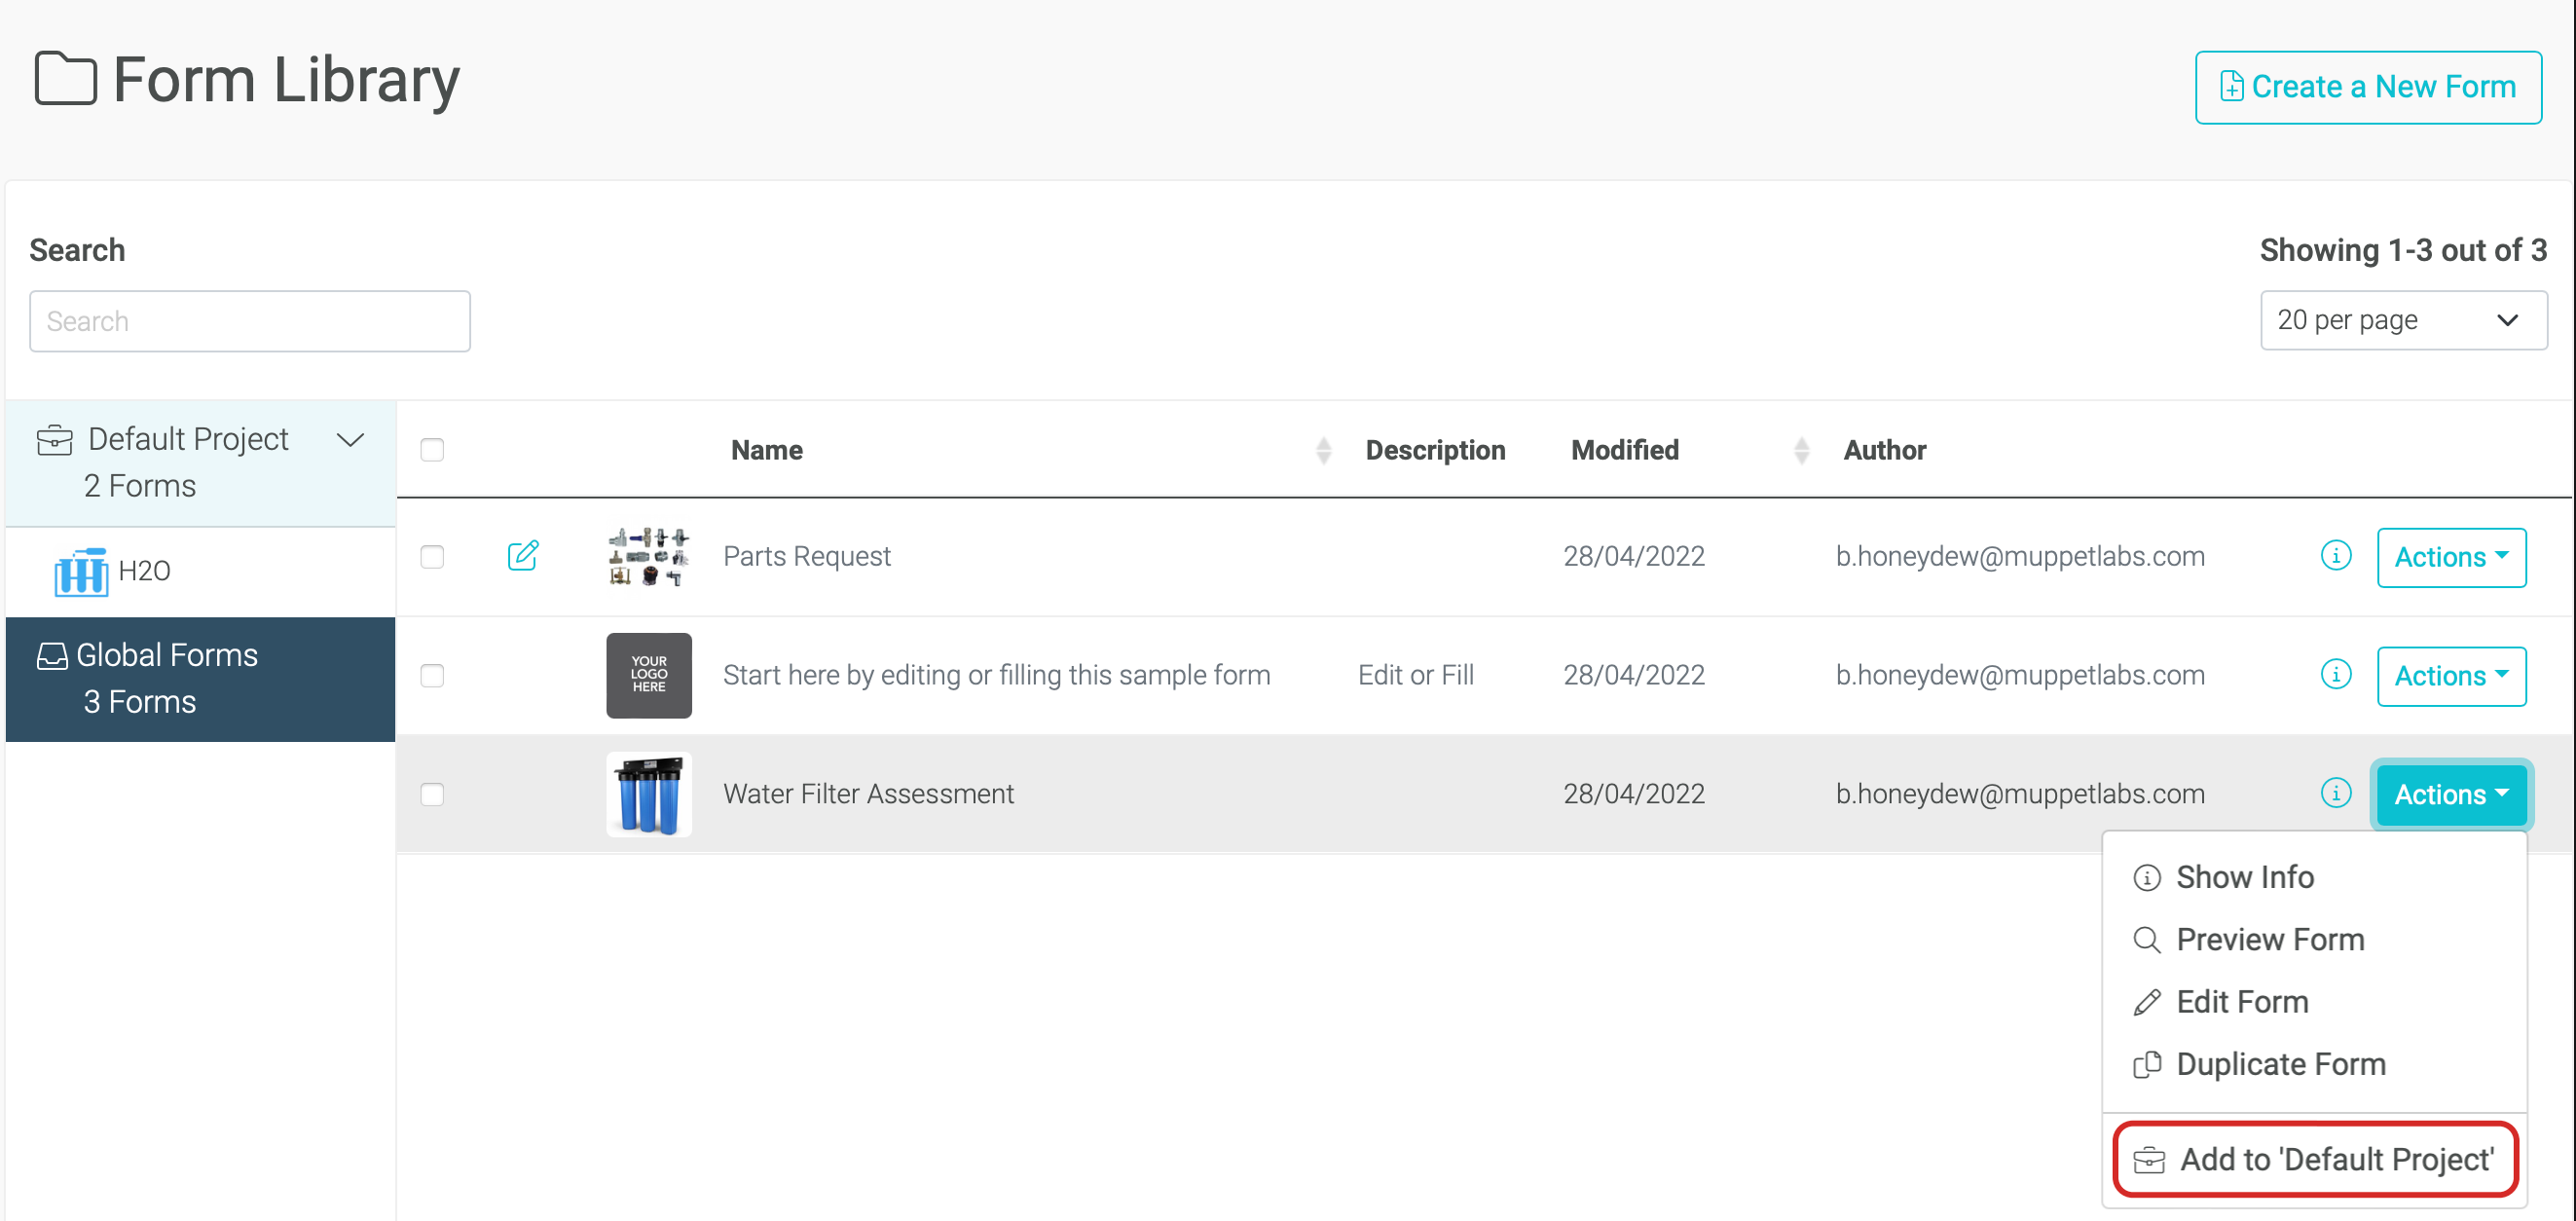
Your new Form is unpublished by default. This means it isn't available to your Users yet. To publish the Form:
- Click the Actions menu and select Add to Project. This will add the Form to your currently active Project
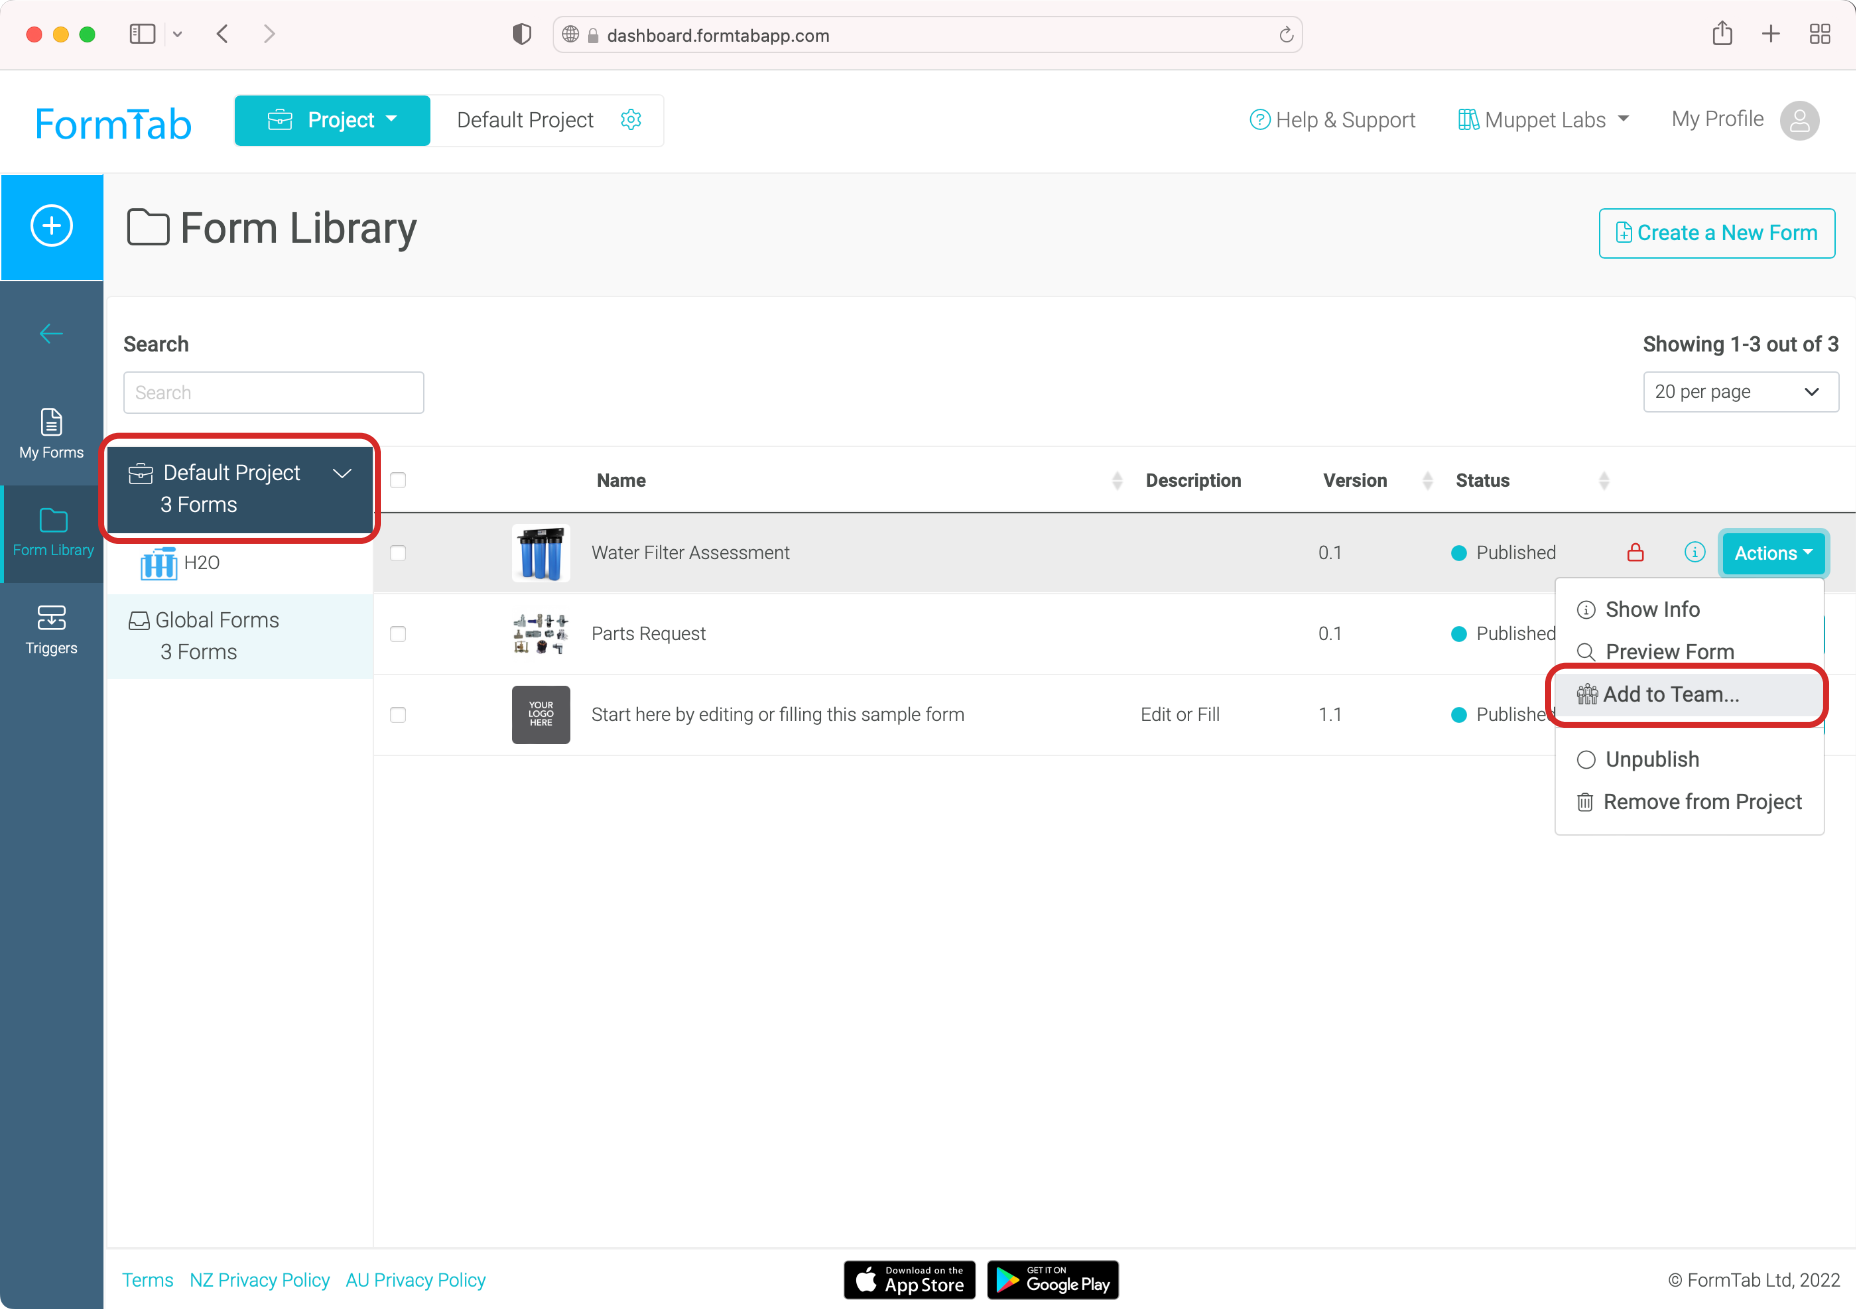
- Select your Project in the Library folder list. The Form list now only show Forms that belong to this project.
- Find your Form in the list, click the Actions menu and select Add to Team.... A list of your Teams will display in a window.
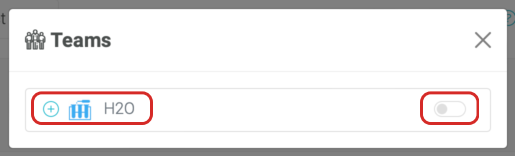
- Click the + button next to a Team's name to add the Form. The switch on the right sets the published state of the Form. If you want the Form published immediately, turn the switch on
Changing Your Form
If you need to change a Form, you can safely do this at any time.
- Select Global Forms in the Library folder list.
- Find your Form in the list, click the Actions menu and select Edit Form
- A Draft copy of the Form is created, so you're free to make changes without affecting your Users
- After you've saved your changes, your Form now displays an icon to indicate it has pending changes
- When you're ready to publish your changes, click the draft icon and choose Apply Changes from the options that appear. The published Form will now be updated with the changes you have just made.

Next Steps
Next Steps
Check out Using the Form Library for advanced tips and information.
Check out the Advanced Form Builder Guide for a more detailed look at building forms.